

A Term is the outer container in StudiFoca — a semester, quarter, or session — and everything else lives inside one. This page covers everything the Getting Started walkthrough doesn’t: the full set of term fields, what the detail view shows once courses are added, editing a term, and where the other actions on the “…” menu lead.
The Terms tab, empty
Before you’ve added anything, the Terms tab just says so.
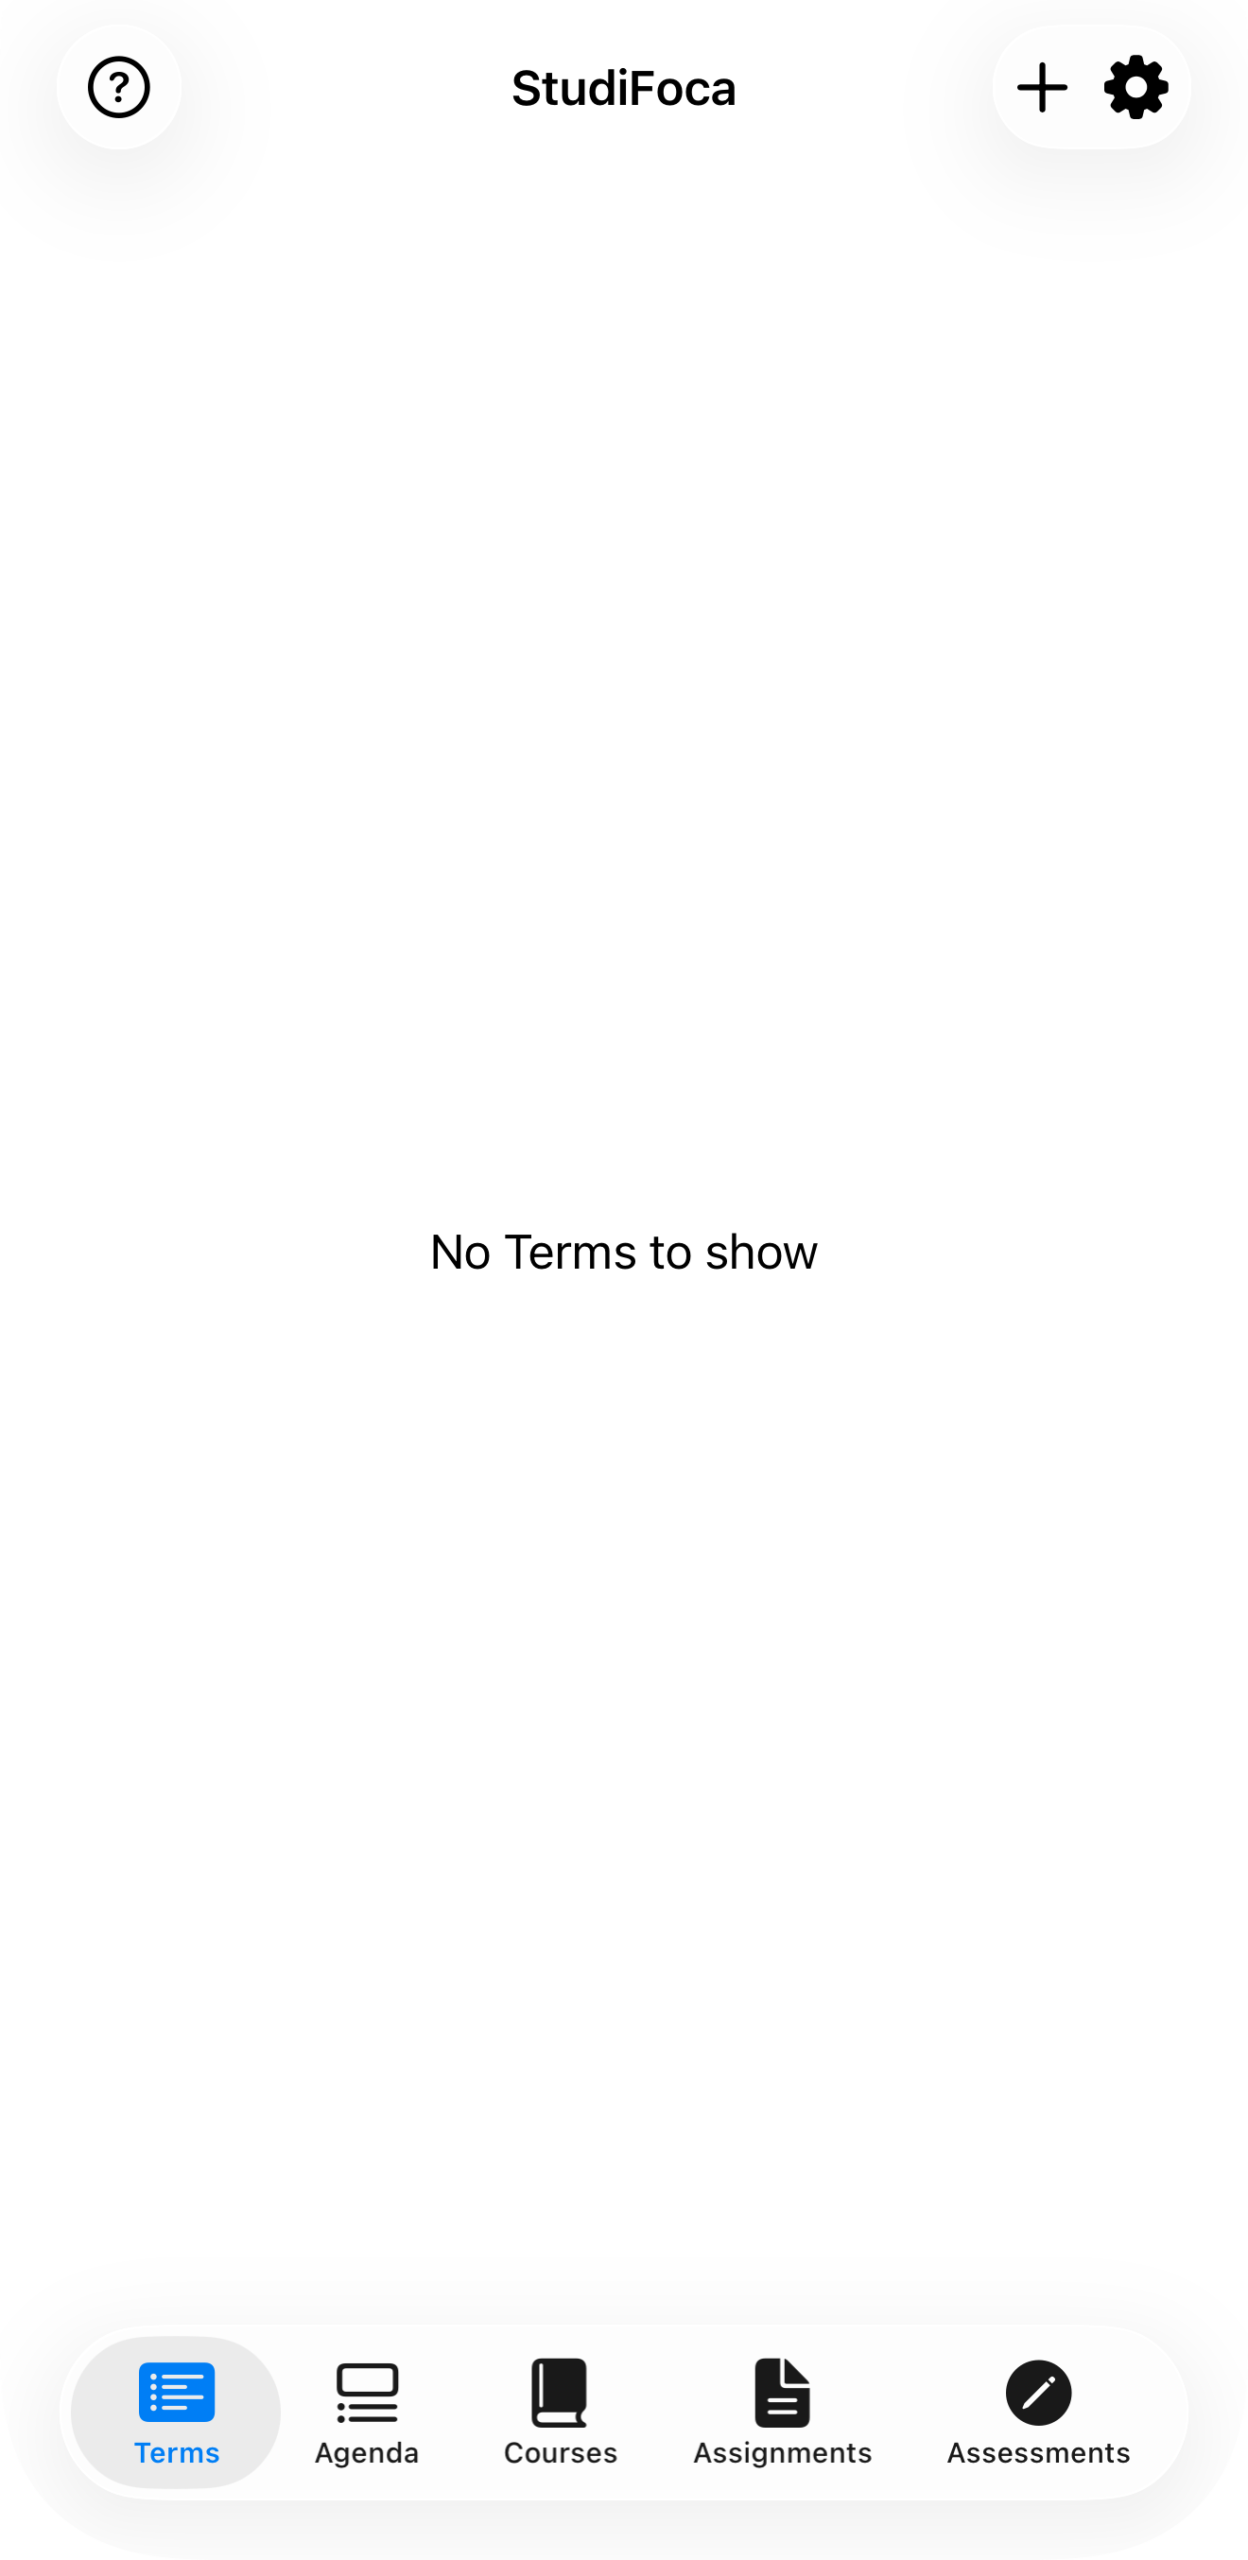
“No Terms to show.” The + in the top corner is where every term starts.
Adding a term
Tap + to open Add Academic Term.
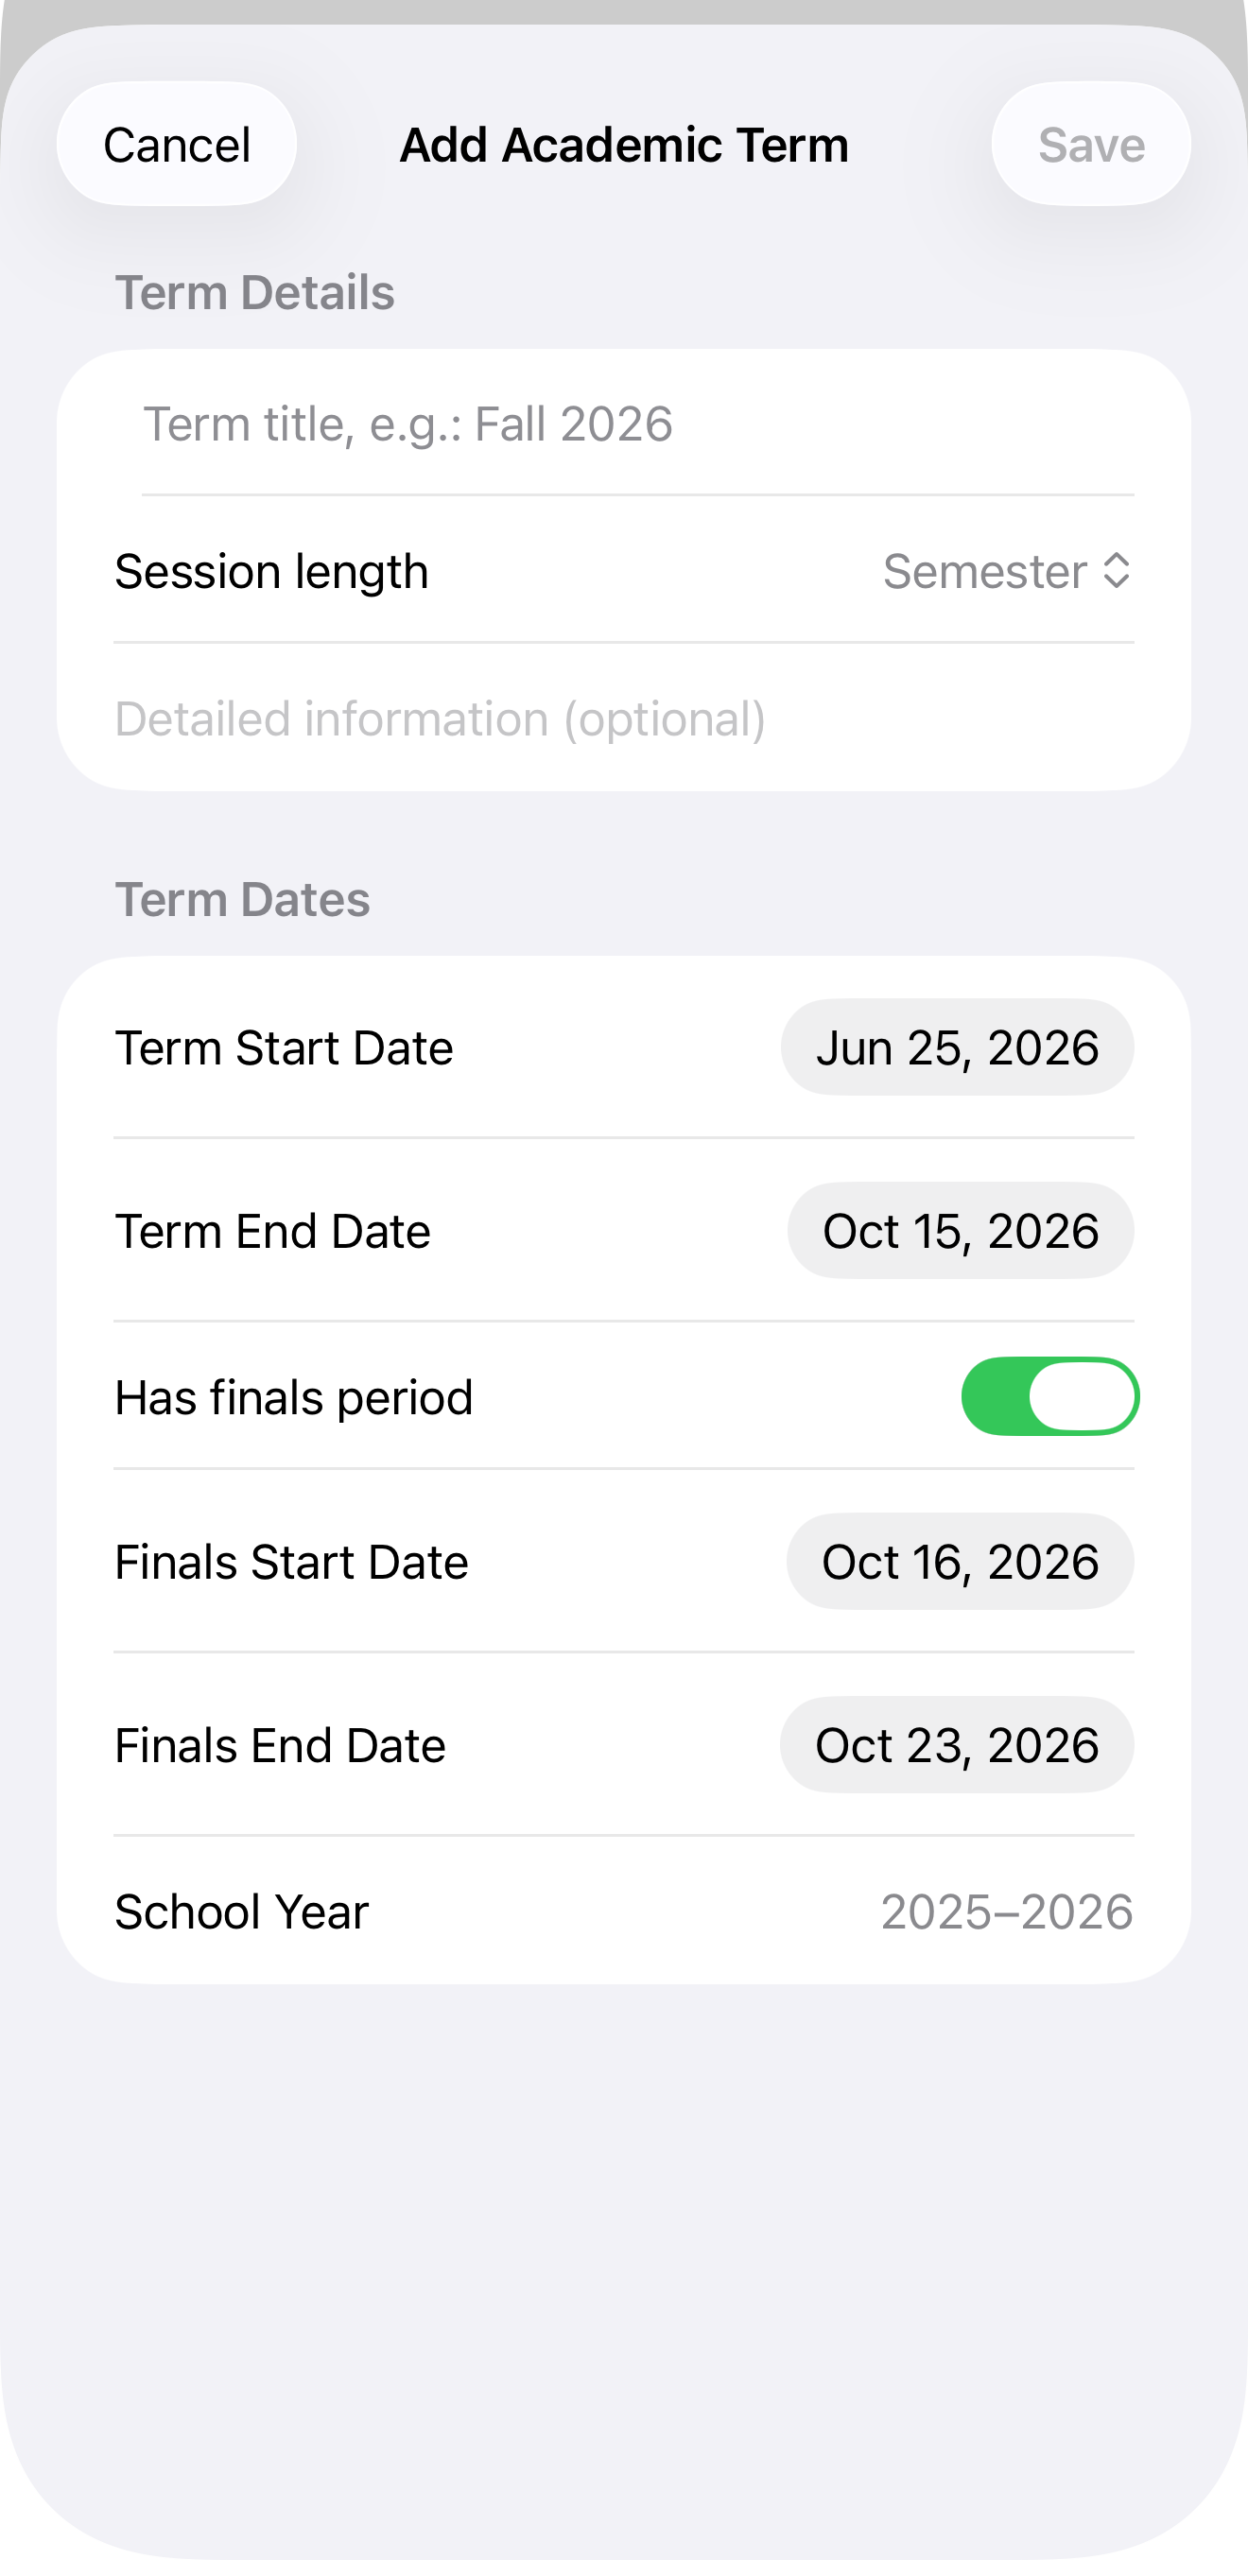
The form defaults to today’s date for both the term start and end date, a two-and-a-half-week span you’ll always want to change, session length Semester, and no finals period yet.
Fill in:
- Title — e.g. “Fall 2026.”
- Session length — Semester and so on; this doesn’t change the fields below it, it’s descriptive.
- Detailed information (optional) — anything you want to note about the term itself.
- Term start and end dates — when classes run.
- Has finals period — switch this on if your school has a separate exam block, then set Finals Start Date and Finals End Date.
- School Year fills itself in from the term dates.
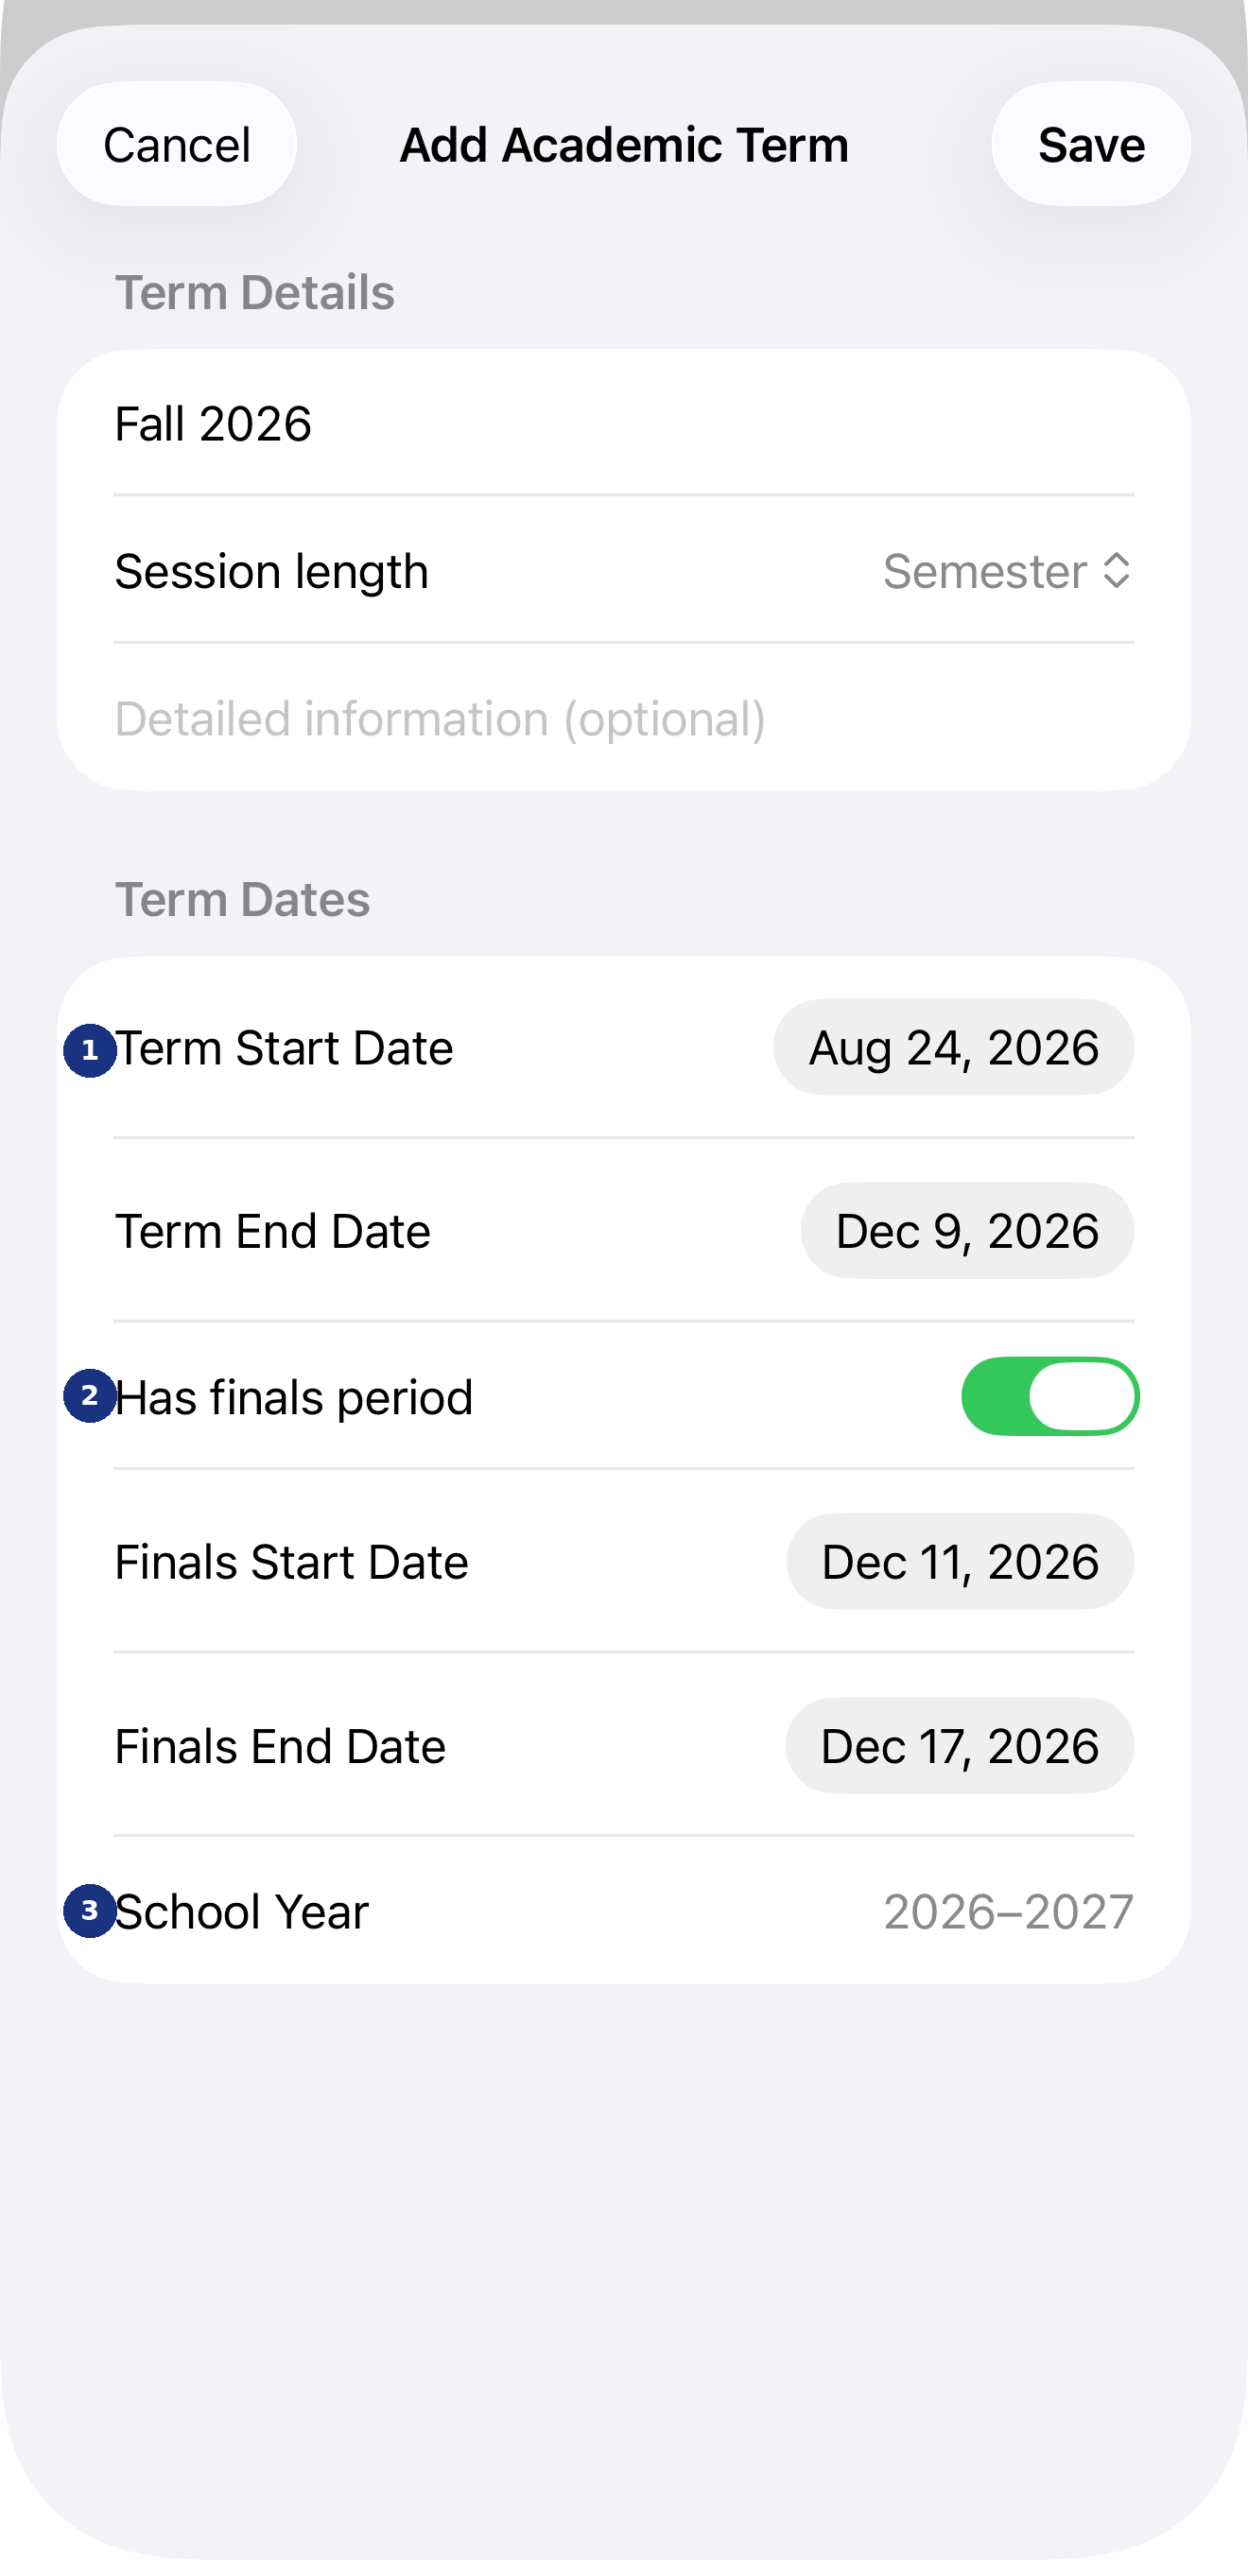
Filled in to produce Fall 2026: term Aug 24 – Dec 9, 2026, finals Dec 11 – Dec 17, 2026, school year 2026–2027.
Tap Save, and the term appears on the Terms tab.
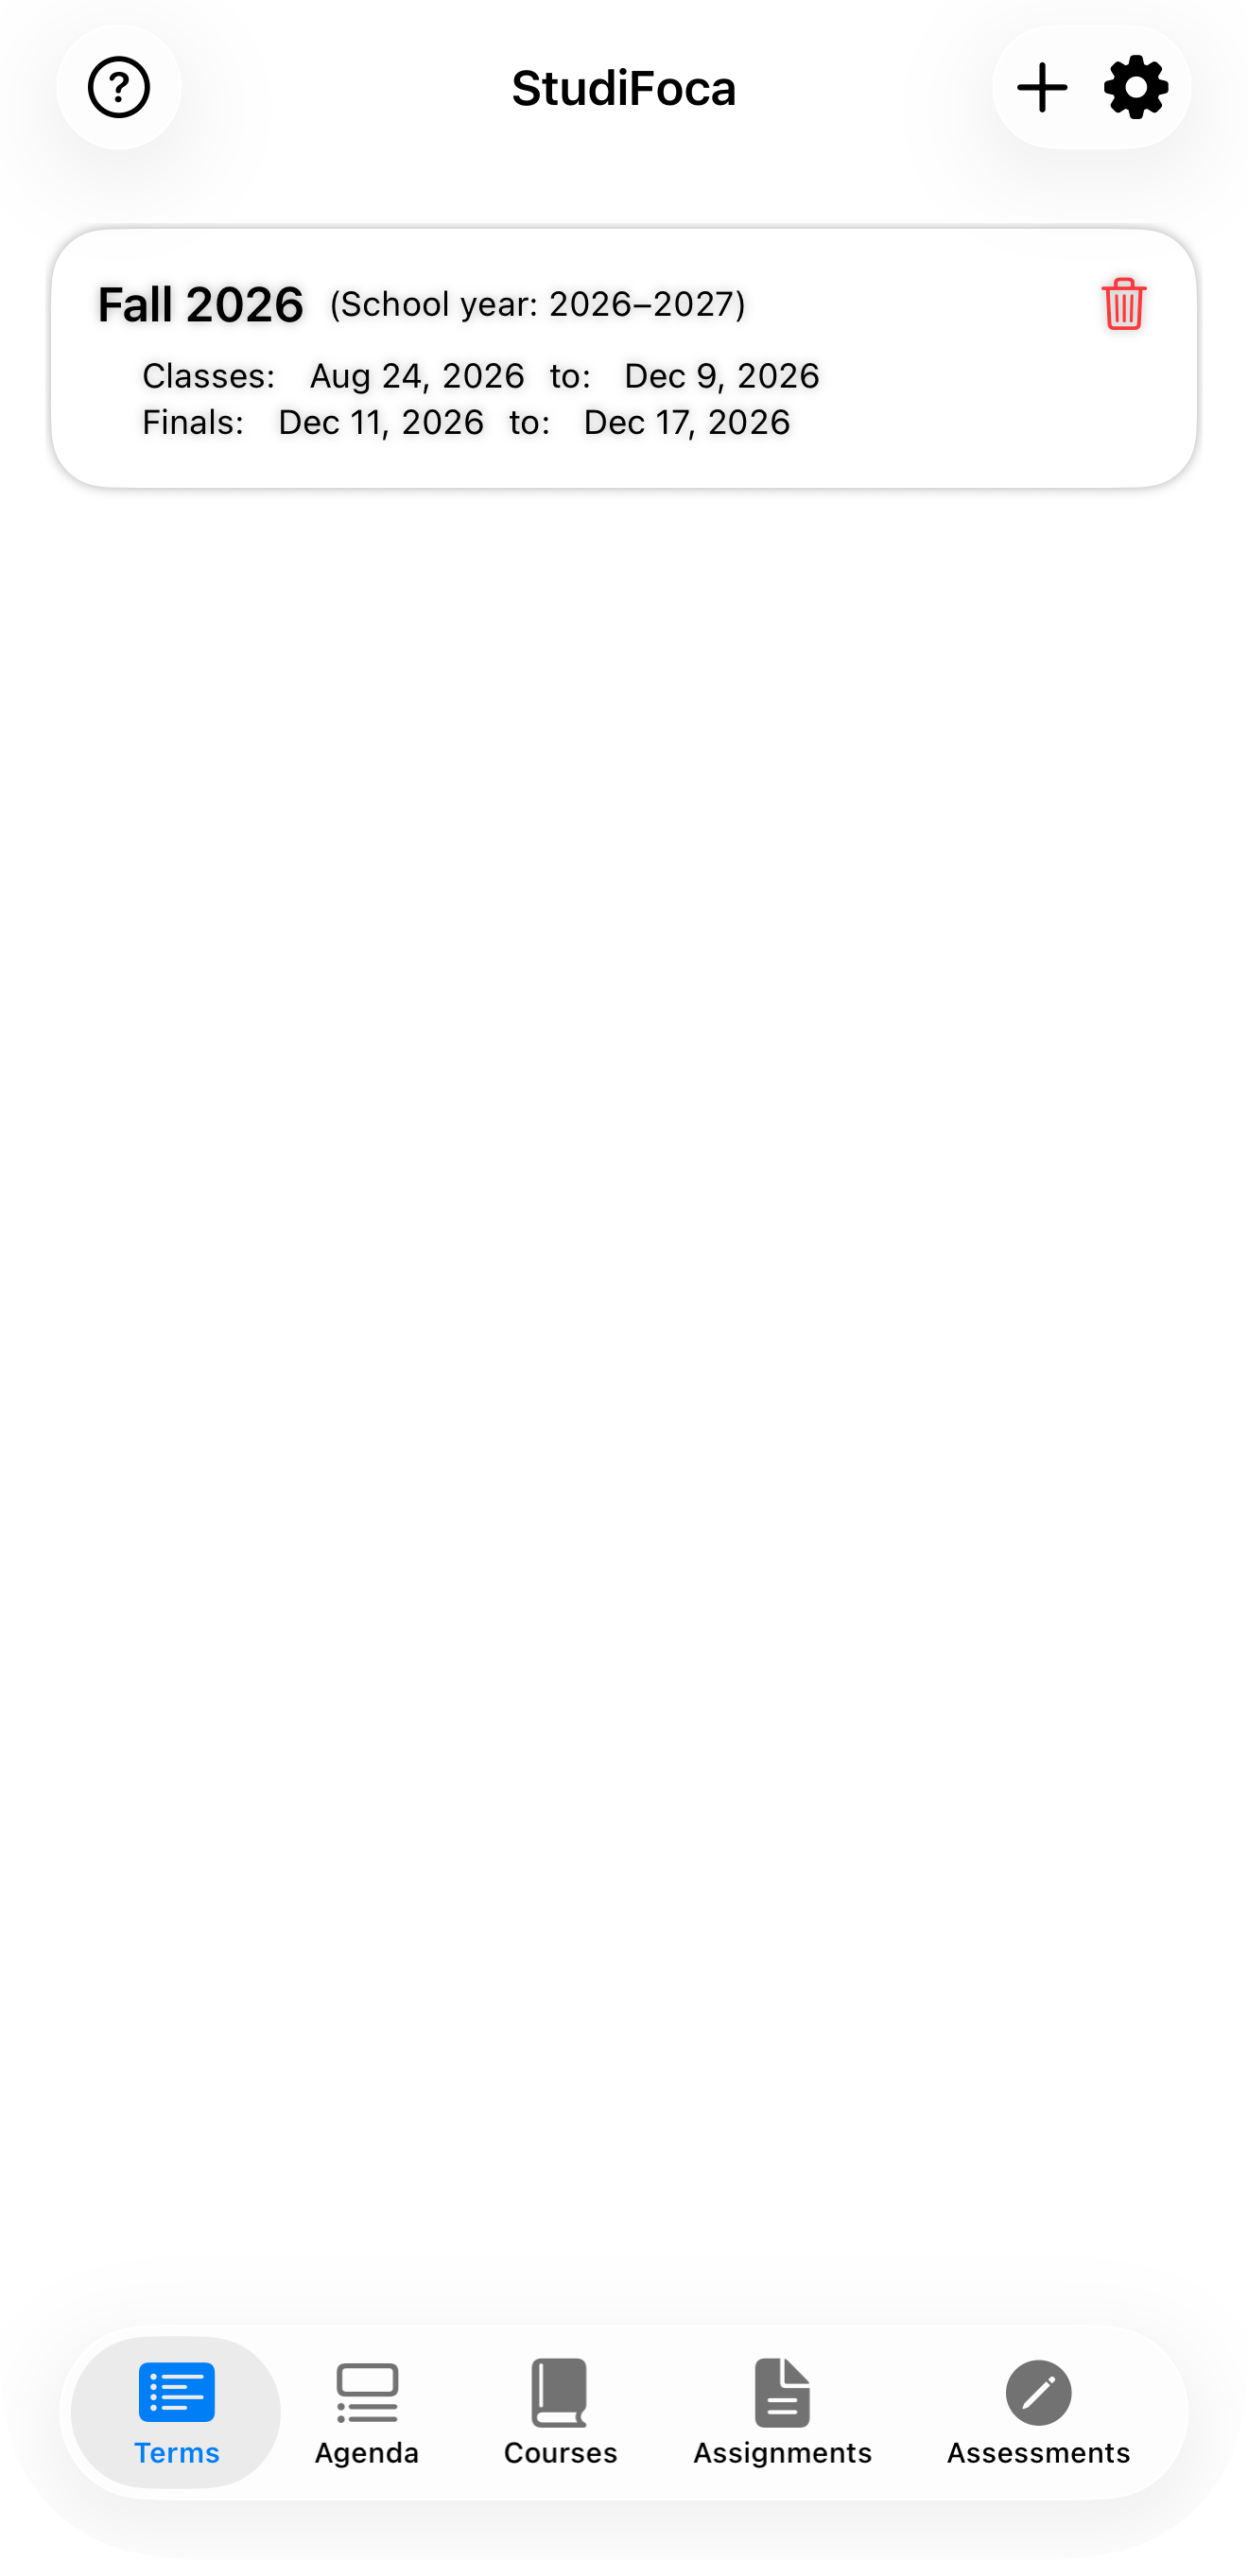
Fall 2026, with its class and finals date ranges shown on the card.
The term detail view
Tapping into a term shows its date ranges at the top and bottom, a Courses section in the middle, and a Finals and other high-stakes assessments section below the divider line. Before you’ve added a course, both are empty.
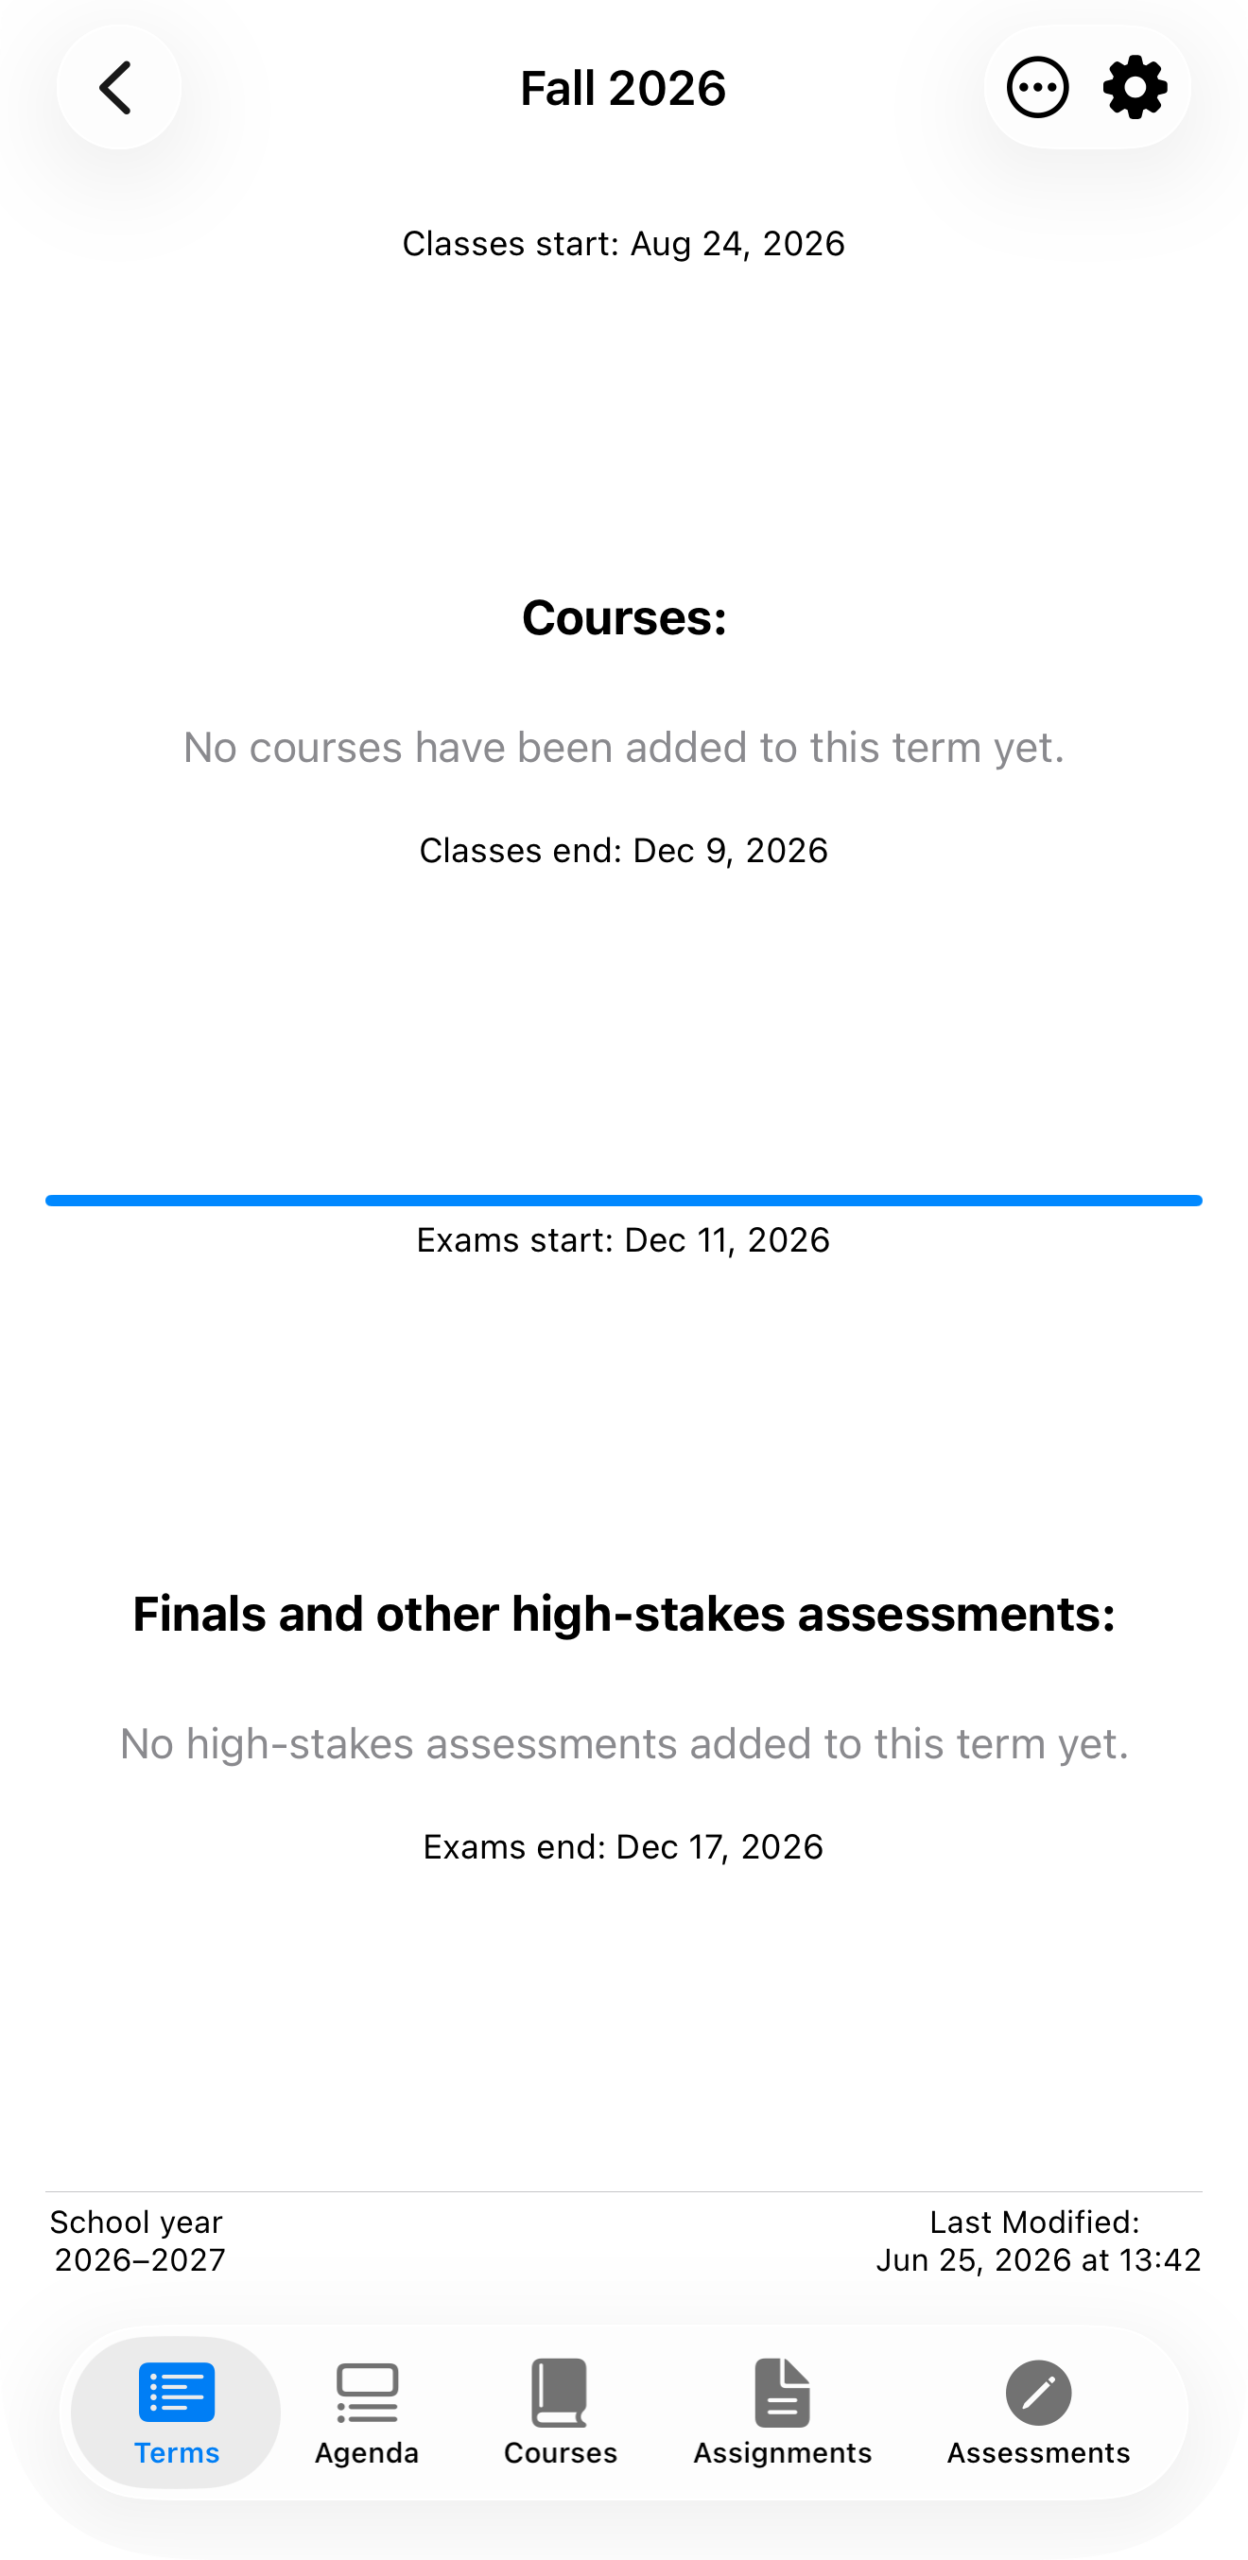
Fall 2026, no courses yet. “Last Modified” and the school year sit at the very bottom.
Once you’ve added courses, they list here by title, code, and meeting times, and any finals or other high-stakes assessments you’ve flagged appear below the divider, sorted by due date with a running “due in N days.”
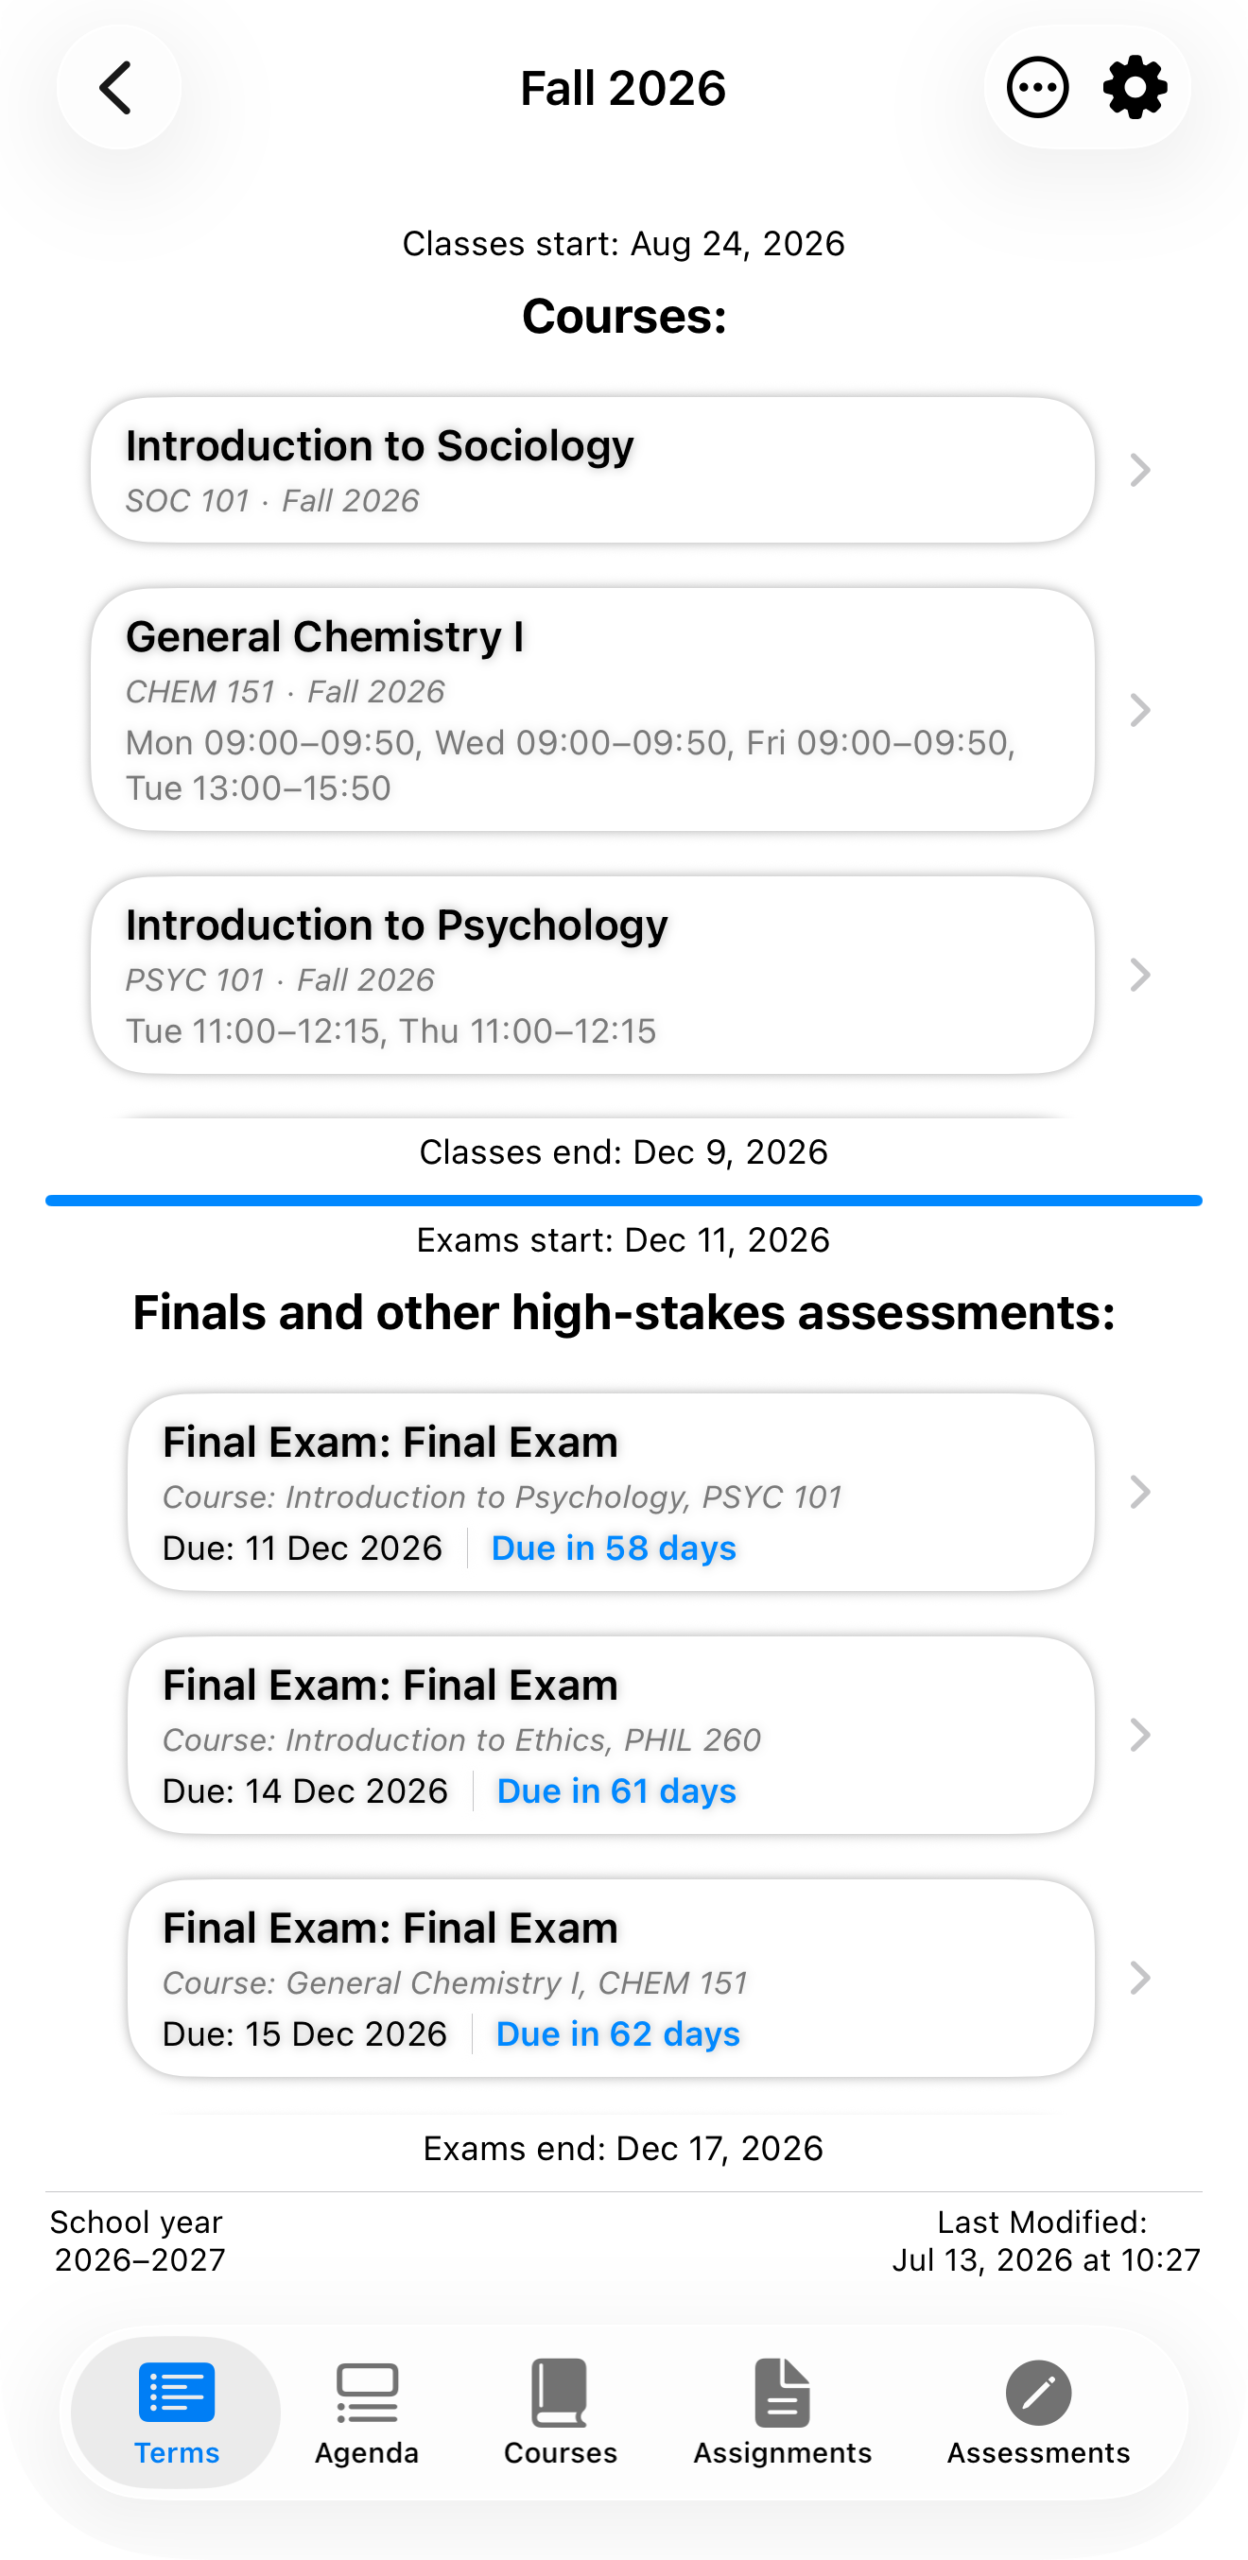
A fully populated Fall 2026 — six courses, three finals shown with their due dates and countdowns.
On a 13″ iPad, the same view has more room to breathe and doesn’t require scrolling to see everything at once.
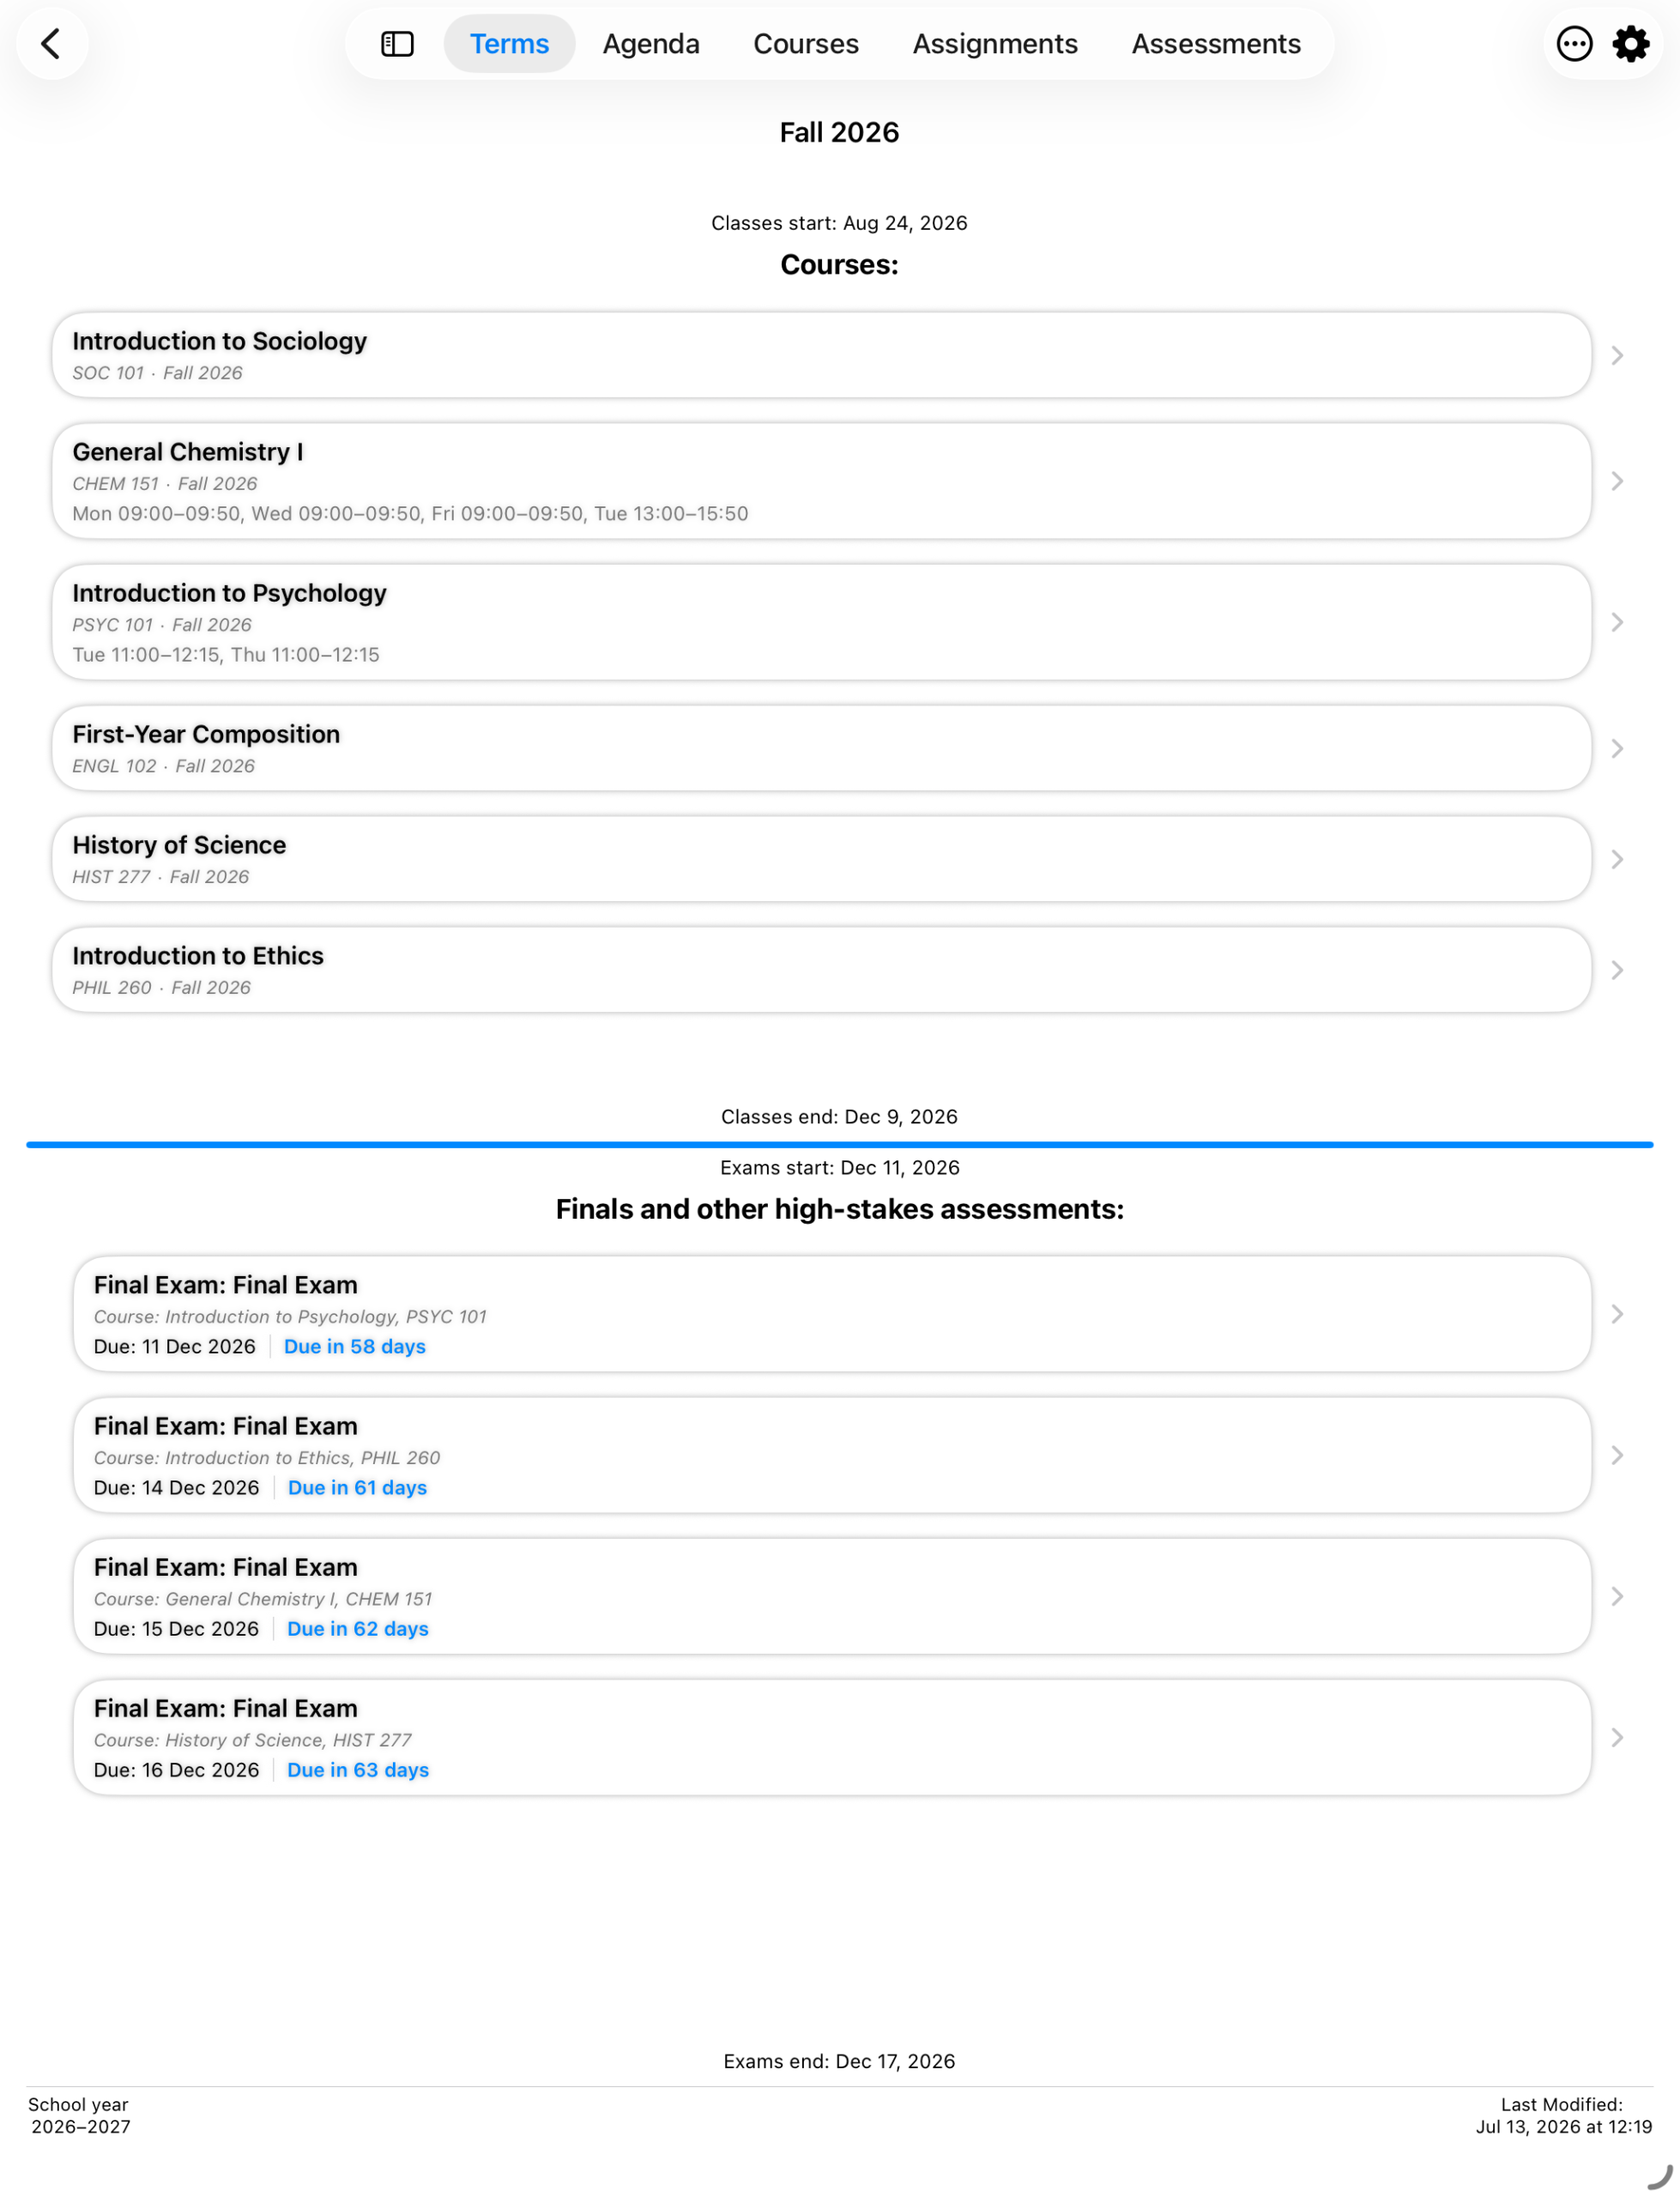
The iPad layout for a populated term — with room to show all four finals at once, where the iPhone view above only has room for three before you’d need to scroll.
The “…” menu
From the term detail view, the … button opens four actions:
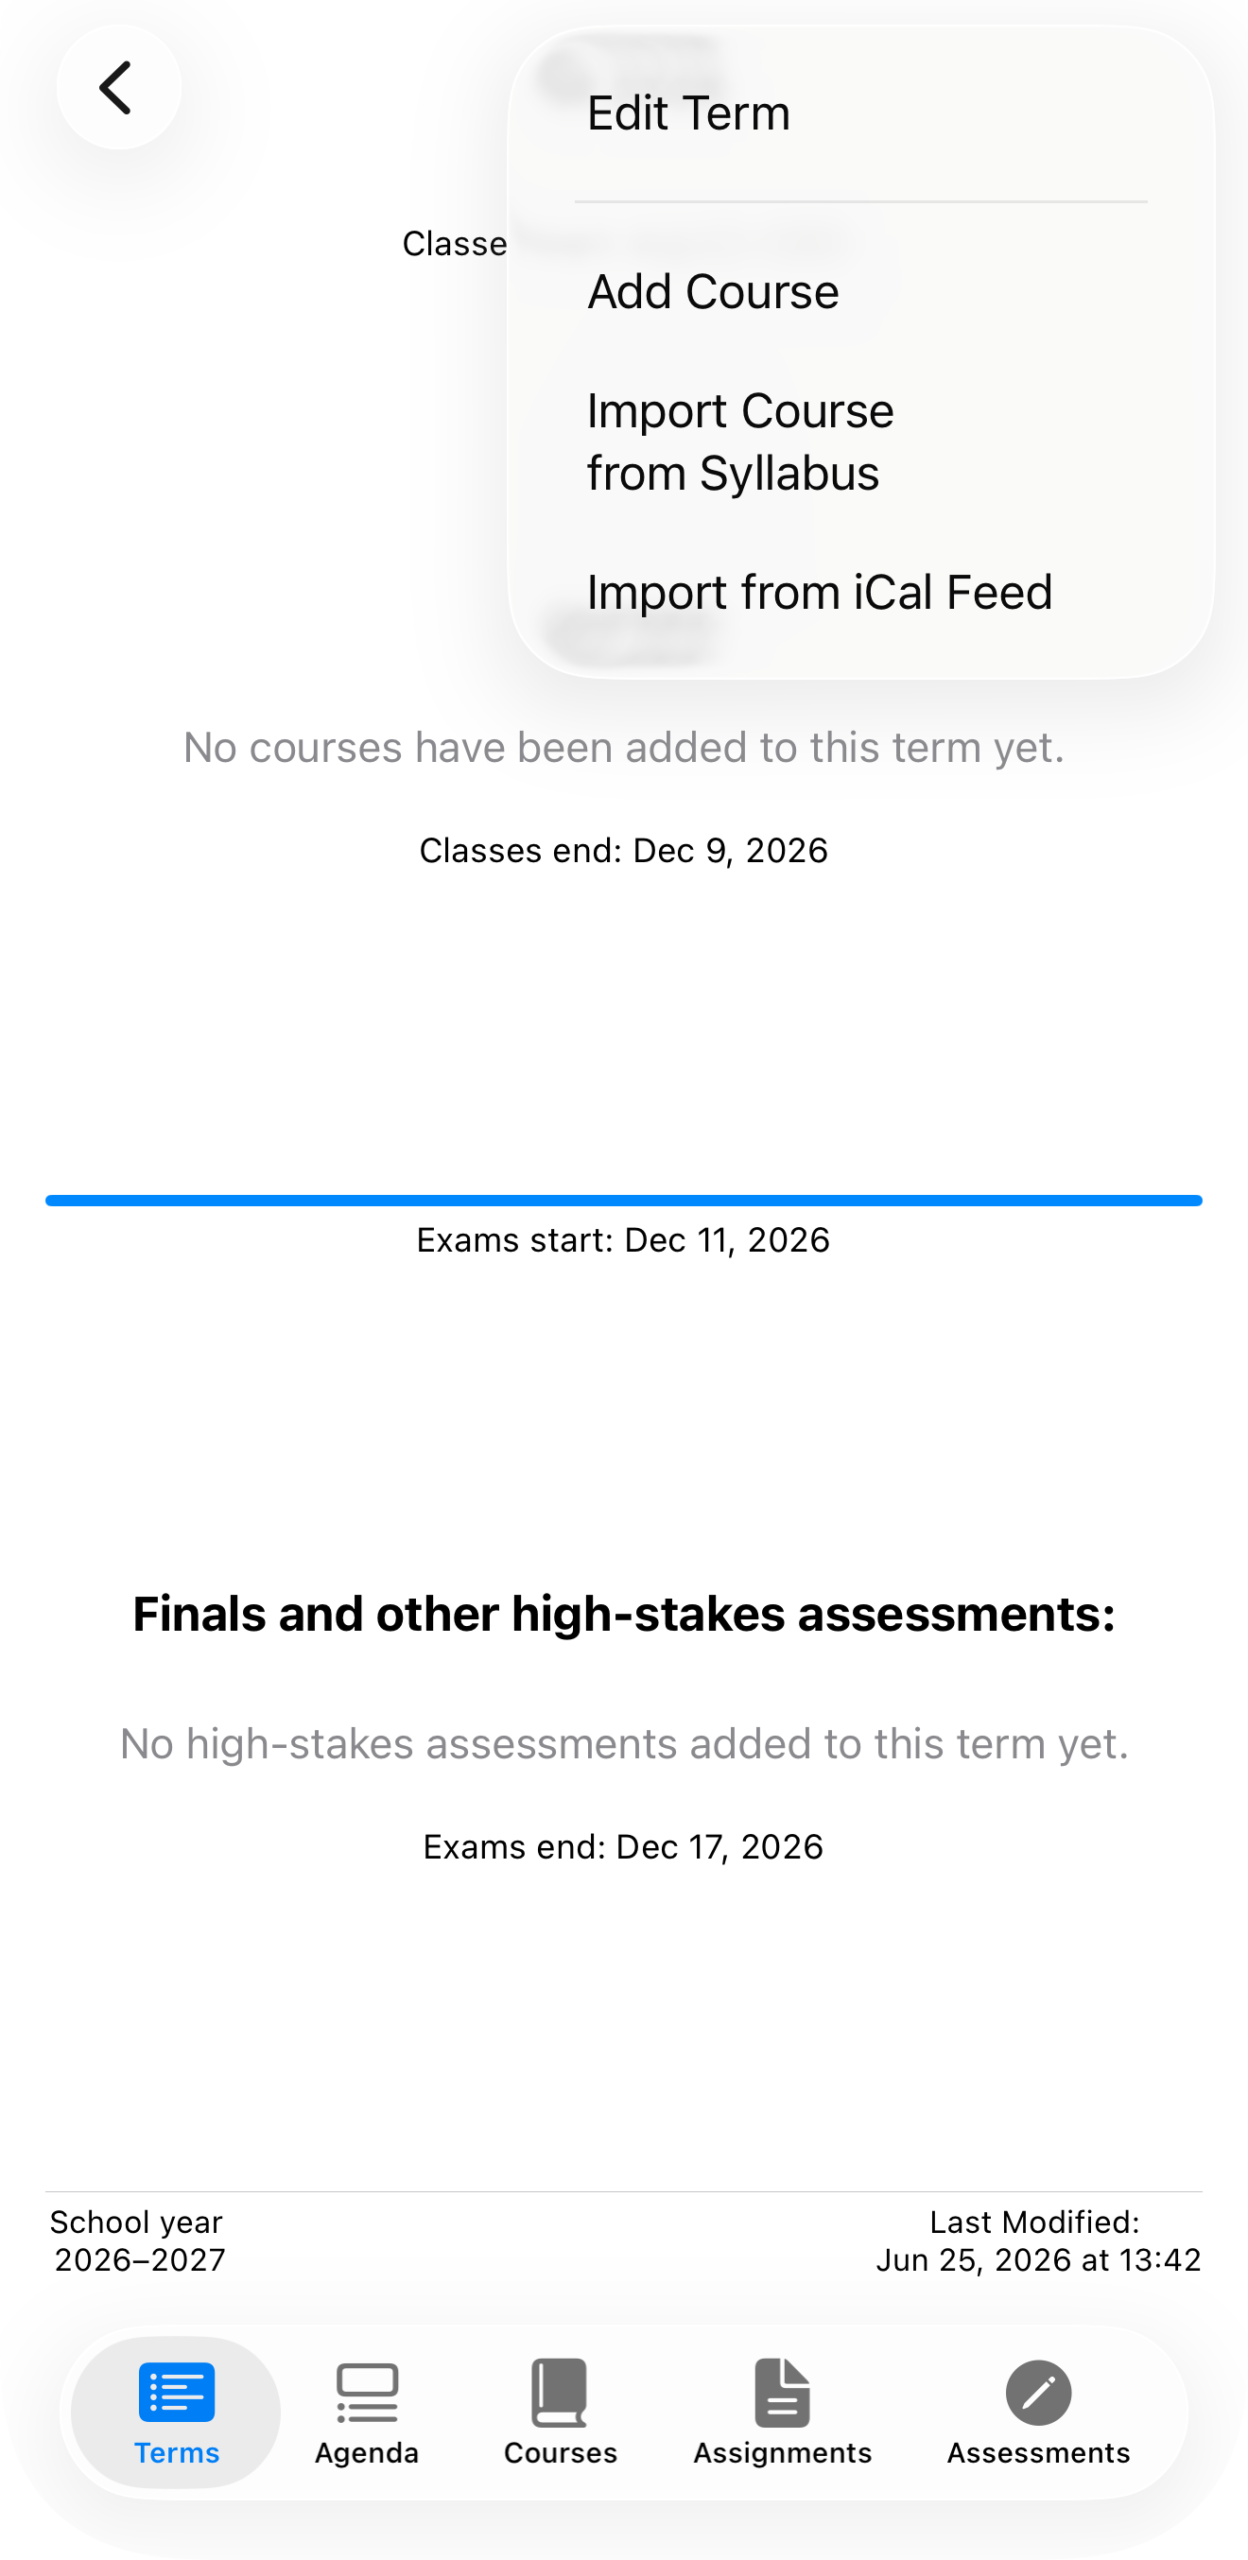
Edit Term · Add Course · Import Course from Syllabus · Import from iCal Feed
Edit Term is covered below. Add Course is covered in Courses. Both import options have their own pages — see Importing Courses from Syllabus and Importing Courses via iCal.
Editing a term
Edit Term opens a short sheet: Term Name and optional Details. It doesn’t let you change the term’s dates — those are set once, at creation, since courses and their meeting schedules are built against them.
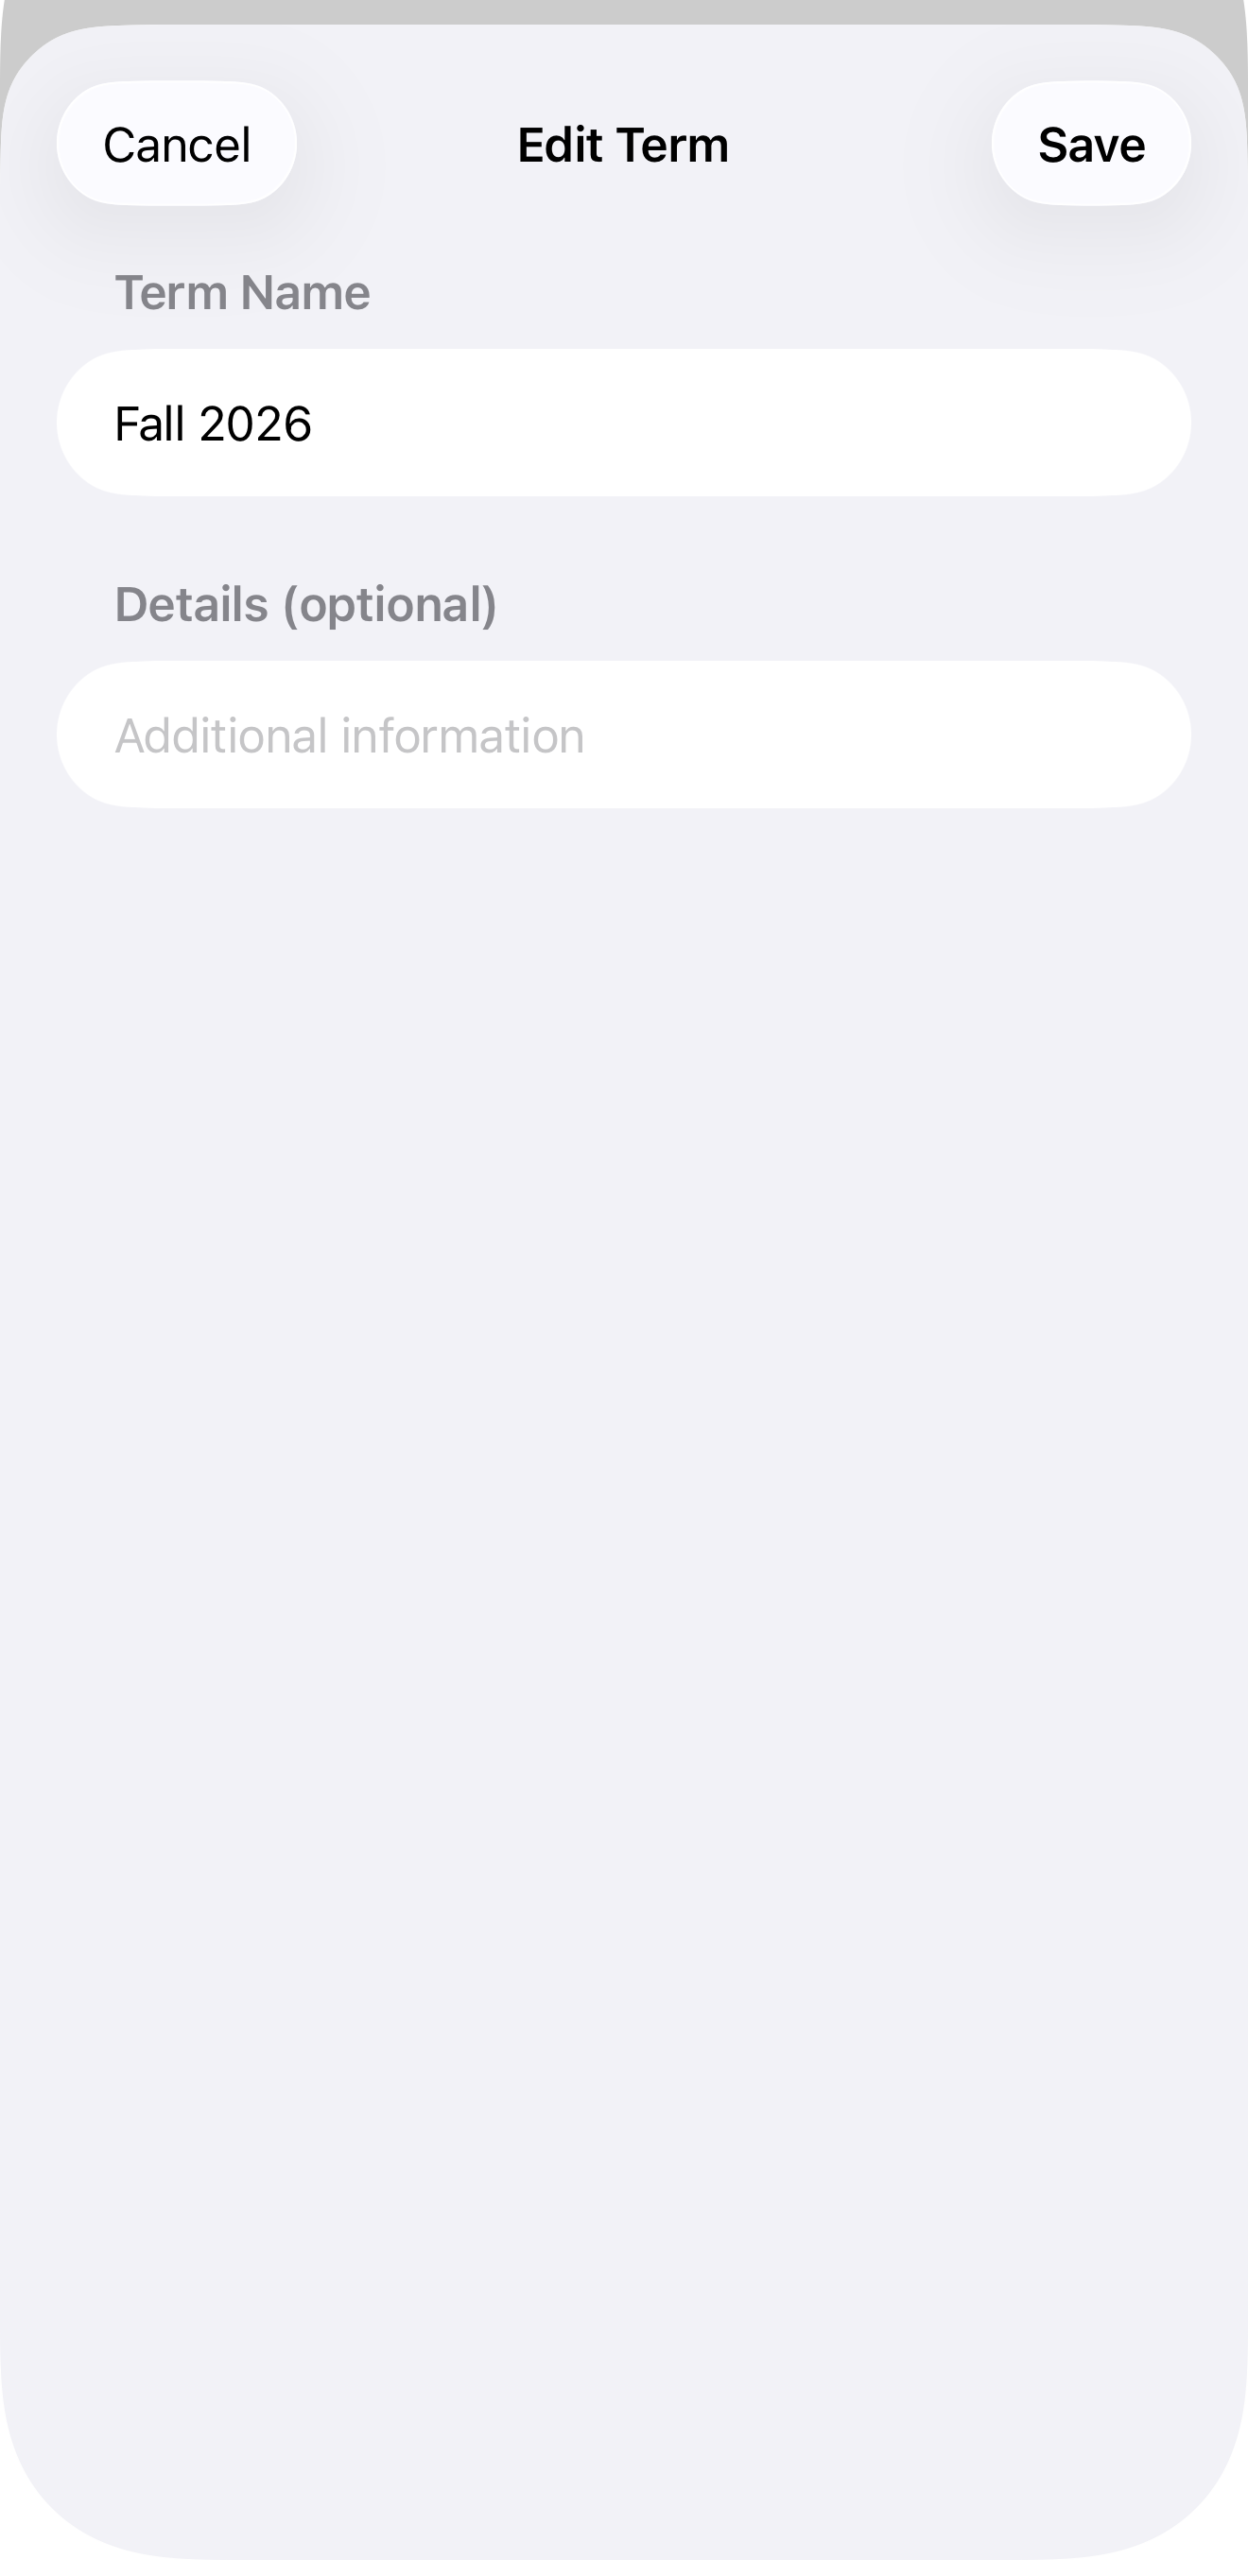
The Edit Term sheet, showing just the name and optional details field.